Loget Tracker
My Experiments | | Links: Github Repo
I fell for Japan’s tourist trap and now I’m spreading it to you.
Japan’s Department of Tourism Got Me
I recently visited Japan to help out the IDS Department at OsakaU with their interdisciplinary project on teeth segmentation and analysis (that’s a story for another day). Along the way, I found out about Japan’s LoGet Cards, a tourist attraction feeding on the same primal isnticts as trading card games. While I never really got into Pokemon myself, I was immediently hooked for both its fun, ARG style goals while also acting as a guide for my expliration of this small island nation. I was a little sad when I realized there were a few limited edition cards that I could not aquire, but that was all apart of the game.
You can imagine my surprize when I collected about a dozen of these cards and wanted to start keping track of which ones I had, that there was no official, or even unofficial, site to record your progress. I know I know, it’s very maximalist of me, and yes, I like games that are simply glorifiwed spreadsheets. But nonetheless, I needed to know. So with the remaining motivation I had after I returned home, I took a weekend to code this up as one final parting gift to myself, and as a promise to return soon.
The Scraper
As with all good proejcts, we start off with something other than the main feature. In this case, I needed to build and update the database of cards so I have something to work with. While I could’ve just simply started with some random data, I would’ve needed to make this feature in the future anyways, so I might as well get it out of the way now.
The Data
The main items that we want to collect are:
All of these items can be found by parsing the HTML of the LoGet website, and extracting their well defined URL slugs and DOM structure.
Card ID
For the card ID, we take a look at the LoGet website’s main index page of all the cards. Each item is stored in an <article> element with an href to the card’s page. Thus, using bs4, we can easily find all <article> elements and extract the data we need. Each cards’ page link is of the form ...list.aspx?card={cardId}. Thus, we search for this form and extract the card ID from the URL.
for article in soup.find_all("article"):
  for a in article.find_all("a"):
    assert a["href"].startswith("list.aspx?card="), f"Unexpected URL format in finding card Ids: {a['href']}"
    u = urlparse(a["href"])[4].split("=")
    cardIds.append(u[1])
Card Image
The card image also appears on the index page, so we can extract it here as well. Each image is stored in an <img> element with a src attribute that contains the relative path to the image in the form ./img/cards/. As such, we extract this path and can use it to directly access the image for our own website use. We do this for each <article> element that we found earlier. We will use this path to construct the full URL to the image.
for article in soup.find_all("article"):
  ...
  for img in article.find_all("img"):
    assert img["src"].startswith("./img/cards/"), f"Unexpected URL format in finding card Ids: {img['src']}"
    v = img["src"].split("/")
    cardImg.append(v[-1])
Card Name
This is a good time to talk about the URL constructor. LoGet is very standardized in their URl slugs. With the .aspx extension, we can deduce that LoGet is using ASP.NET. As such, given the card ID, we can construct the URL to the card’s page, plus a few more crucial pages.
if typ == "card":
  return f"https://loget-card.jp/list.aspx?card={inputPart}"
elif typ == "map":
  return f"https://loget-card.jp/list_map.aspx?card={inputPart}"
elif typ == "img":
  return f"https://loget-card.jp/img/cards/{inputPart}"
else:
  raise ValueError(f"Unexpected type of URL to reconstruct: {typ}")
I bring this up now as the card URL is very useful for extracting the card name. Each card’s page has the card’s name as the first thing in the <h1> element. Thus, we can simply, for each card, go to its page, and extract the name from the <h1> element.
response = r.get(cardURL)
    soup = BeautifulSoup(response.content, "html.parser")
    s = soup.find_all("section", class_="listA")

    assert len(s) == 1, f"Unexpected number of sections in finding card name: {len(s)}"

    head = s[0].find_all("h1")

    assert len(head) == 1, f"Unexpected number of h1 tags in finding card name: {len(head)}"

    return head[0].text
At this point you might be thinking, “Wow, that’s a lot of requests to make for each card, its tedious and intensive for each refresh.” You are correct, but we will minimize the calls later on in the main function. For now, let’s keep extracting data.
Spot Map Link
This is simply the URL to the card’s spot map, which has already been defined in the URL constructor above. We can retrieve the map link by calling the URL contructor with the card ID and the map type.
LoGet Website Link
This is simply the URL to the card’s page, which has already been defined in the URL constructor above. We can retrieve the LoGet website link by calling the URL contructor with the card ID and the card type.
Spot Website Link
The Spot Website Link is found at the footer of each card’s page. We simply extract the footer text, find the link that opens a new tab, and extract the URL from it. Nothing too complicated once the structure has been determined. This links to an external website so we assume here that each card page is structured the same as there is no way to validate the link we’ve extracted.
response = r.get(cardURL)
soup = BeautifulSoup(response.content, "html.parser")
s = soup.find_all("section", class_="listA")

assert len(s) == 1, f"Unexpected number of sections in finding card name: {len(s)}"

spot = s[0].find_all("div", class_="text_footer")

assert (len(spot) == 1), f"Unexpected number of a tags in finding card name: {len(spot)}"

link = spot[0].find_all("a", target="_blank")

assert (len(link) == 1), f"Unexpected number of a links in finding card name: {len(link)}"

return link[0]["href"]
The Process
Now that we have all the data scraping methods defined, we can put them together. For now, we ignore any logging function that is available to the scraper. This scraper should automatically update our database with the card infos that we’ve collected. As this database uses PostgreSQL, we will use the psycopg2 library to connect to the database and insert the data. We grab a cursor, and for each card already in the database, we will bring it into the scraper for duplicate checking. Of course, this can be optimized by offloading the data check to the database itself. However, as I was developing it on a shotty internet connection, I wanted to minimize the number of requests made to the database. This is a low hanging improvement for the future that I will never get to.
conn = psycopg2.connect(service=DBSERVICE)
cur = conn.cursor()
cur.execute('SELECT "Id" FROM tracker_logetcards;')
existingCardIds = [str(x[0]) for x in cur.fetchall()]
Next, we send a request for the LoGet index page and parse it with bs4. Now, we take our above methods and extract some basic info about each card on the page to do the duplicate check.
response = requests.get(CARDLISTURL)
soup = BeautifulSoup(response.content, "html.parser")
cardIds, cardImgs = findCards(soup)
Finally, for each card that we’ve found on the page, we check if it already exists in the database. If it does not, we use the above data methods to extract the required information, add it to the database, and commit the changes.
for cardId, cardImg in zip(cardIds, cardImgs):
  if cardId in existingCardIds:
      continue

  cardURL = logetURLReconstructor(cardId, "card")
  mapURL = logetURLReconstructor(cardId, "map")
  imgURL = logetURLReconstructor(cardImg, "img")

  name = findCardName(cardURL)
  spotLink = findCardSpotLink(cardURL)

  cur.execute(
      'INSERT INTO tracker_logetcards ("Id", "Name", "Img", "SpotmapLink", "LoGetURL", "SpotWebsiteLink") VALUES (%s, %s, %s, %s, %s, %s);',
      (cardId, name, imgURL, mapURL, cardURL, spotLink),
  )
  conn.commit()
As cleanup, we will close the cursor and connection to the database.
cur.close()
conn.close()
Now we’re done and we have a database of all the LoGet cards that we can use to build our website. We can simply run this scraper whenever we want to update the database with new cards, or to check for any changes in the existing cards. It can also be attached to a cron job to run periodically.
The Website
Now for the main event. The website is built using Django. I will spare you all the details and give you a highlight of all the main features. An indepth exploration of the code can be found at the Github Repo.
Overview
This project uses the built in Django admin interface to manage the users and the database. As such, it is not the prettiest thing in the world. However, it’ll do for now. There really are only a few pages that make up this website. Any other slugs are used for hooks and API calls.
path("", views.index, name="index"),
path("tracker/", views.tracker, name="tracker"),
path("settings/", views.settings, name="settings"),
path("login/", views.loginView, name="login"),
path("signup/", views.signupView, name="signup"),
We’ll skip over most of these pages, as they are as standard as can be. We will focus on the first two: the index page and the tracker page.
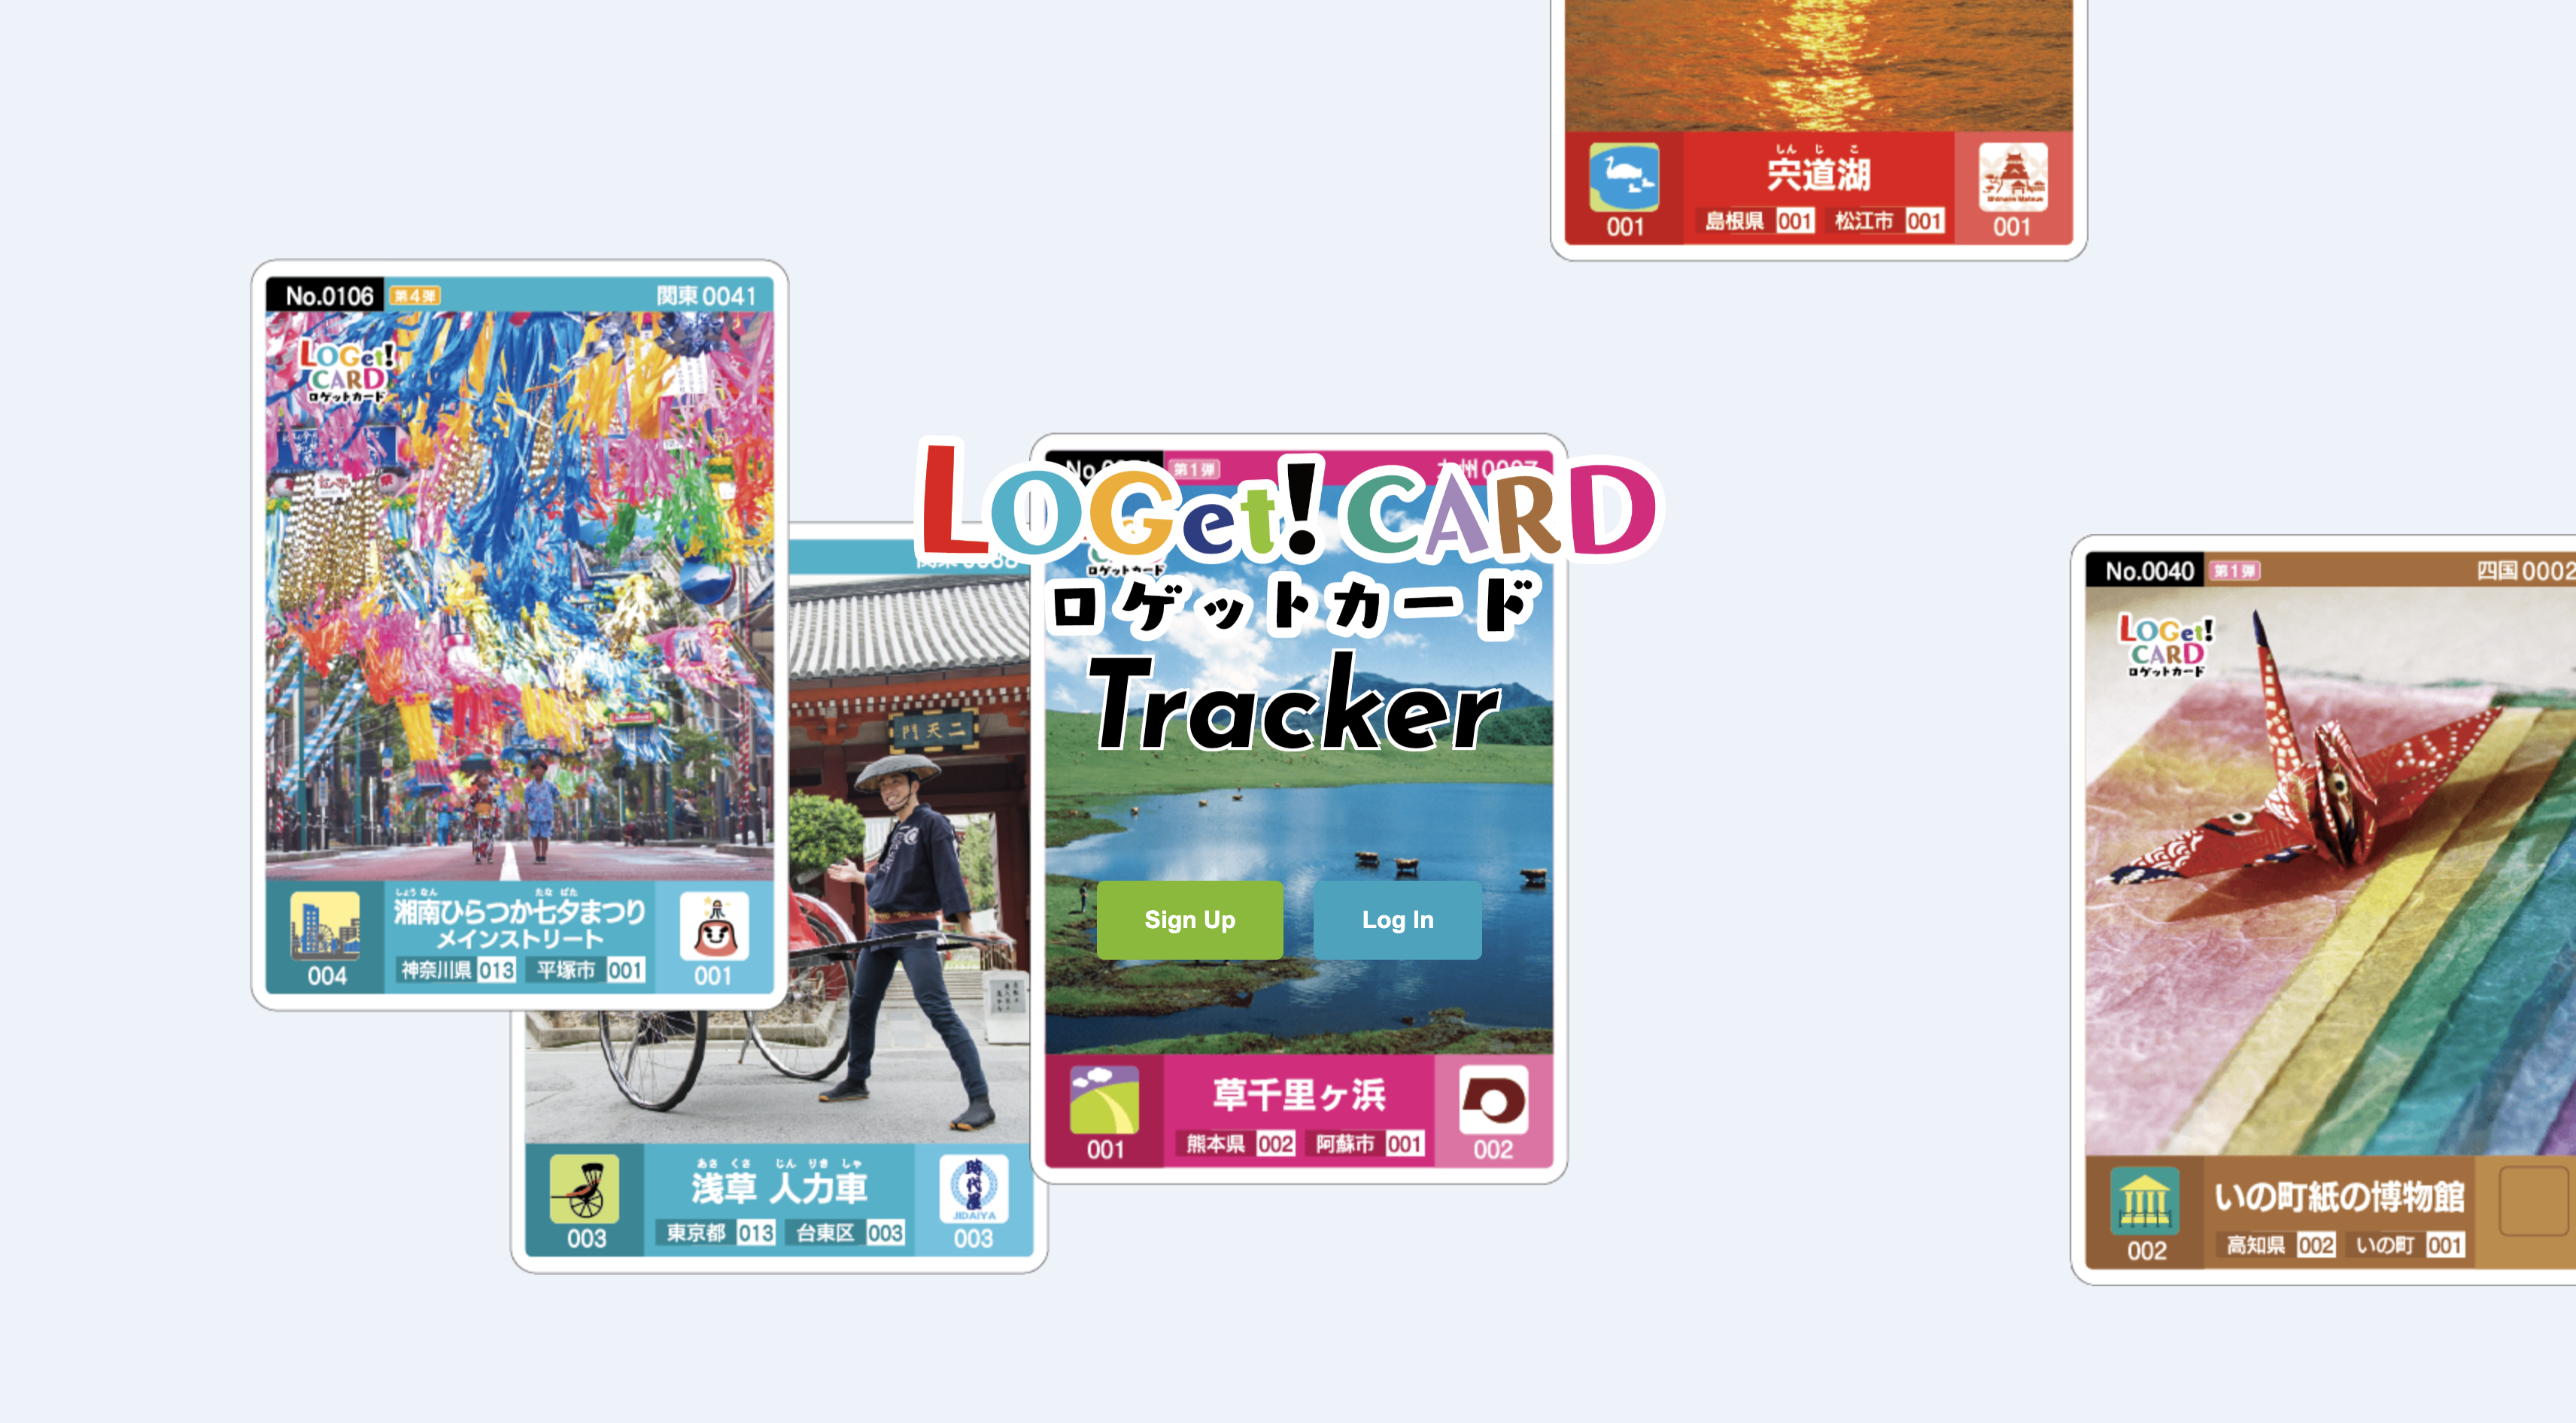
The Welcome Page
I wanted the main page to look somewhat welcoming, so I decided to add a little animation of the cards flying by in the background for flavor. The index view takes in only three context items: the list of random cards, the signup redirect view, and the login redirect view. The random cards are retrieved from the database of cards. If the user has already been logged-in, we will redirect them to the tracker page automatically.
if request.user.is_authenticated:
  return redirect("tracker:tracker")

cardsImgs = LoGetCards.objects.values_list("Img", flat=True)
randImgs = rand.sample(list(cardsImgs), 6)

context = {
  "imgs": randImgs,
  "loginview": "tracker:login",
  "signupview": "tracker:signup",
}

return render(request, "tracker/index.html", context)
I won’t show or explain every part of the static and template items, but here are the main points. Besides the buttons to login and signup, this front page only has a bunch of image <div>s to contain the card images that will scroll past behind. If we somehow cannot access the database or the backend returns an error, we degrade gracefully and simply use the first six card IDs as the cards for the background animation.
<div class="background">
  {% if imgs %}
    {% for img in imgs %}
      <div class="card"><img src="{{ img }}"/></div>
    {% endfor %}
  {% else %}
    <div class="card"><img src="https://loget-card.jp/img/card/001.png"/></div>
    <div class="card"><img src="https://loget-card.jp/img/card/002.png"/></div>
    <div class="card"><img src="https://loget-card.jp/img/card/003.png"/></div>
    <div class="card"><img src="https://loget-card.jp/img/card/004.png"/></div>
    <div class="card"><img src="https://loget-card.jp/img/card/005.png"/></div>
    <div class="card"><img src="https://loget-card.jp/img/card/006.png"/></div>
  {% endif %}
</div>
Now for the fun part. I want the cards to have a random duration of scrolling past the screen. For that, we will use Javascript to generate random durations for each <div> that has the .card class. This was, we can continue the annimation in CSS.
document.addEventListener("DOMContentLoaded", () => {
  const cards = document.querySelectorAll(".card");

  cards.forEach((card, _) => {
    const randomDuration = Math.random() * 25 + 5; // between 5 and 30 seconds
    card.style.animationDuration = `${randomDuration}s`;
  });
});
As for the CSS, I want to displace the cards so that they’ll scroll past randomly throuhgout the width of the screen. For this, we will displace each card and use the @keyframe property in CSS. On top of that, I also want the main logo to move a little so its not so static and lifeless. Finally, let’s make it fancy and add an effect to the buttons when you hover over them.
.background {
    position: absolute;
    top: 0;
    left: 0;
    width: 100%;
    height: 100%;
    z-index: -1;
    overflow: hidden;
}

.card {
    position: absolute;
    width: 100px;
    height: 150px;
    background: rgba(255, 255, 255, 0.2);
    border-radius: 10px;
    animation: move 20s linear infinite;
}

.card:nth-child(1) {
    left: 20%;
    animation-duration: 15s;
}

.card:nth-child(2) {
    left: 40%;
    animation-duration: 25s;
}

.card:nth-child(3) {
    left: 60%;
    animation-duration: 20s;
}

.card:nth-child(4) {
    left: 80%;
    animation-duration: 30s;
}

.card:nth-child(5) {
    left: 10%;
    animation-duration: 10s;
}

.card:nth-child(6) {
    left: 0%;
    animation-duration: 5s;
}

@keyframes move {
    0% {
        transform: translateY(100vh);
    }
    100% {
        transform: translateY(-100vh);
    }
}

.logo {
    animation: float 3s ease-in-out infinite;
}

.logo img {
  width: 500px;
  display: flex;
  justify-content: center;
  margin-bottom: 10px;
}


@keyframes float {
    0% {
        transform: translateY(0);
    }
    50% {
        transform: translateY(-20px);
    }
    100% {
        transform: translateY(0);
    }
}

.signup:hover, .login:hover {
  color: #333;
  background-color: white;
  border: 2px solid;
}
The Tracker Page
The tracker view is simply a grid of the cards. Through the models, we grab the collected cards of the user and the full list of cards data. We also need some basic user account data and pass them all as the context to the template. Here, I chose to handle the processing of collected cards in the template itself.
@login_required

user = request.user
userCards = LoGetUsers.objects.get(user=user).CardsColleted["collected"]
userCardIds = [int(card) for card in userCards]

cards = LoGetCards.objects.all()
context = {
    "cards": cards,
    "collected": userCardIds,
    "username": request.user.username,
    "logoutview": "tracker:logout",
    "userview": "tracker:settings",
}
return render(request, "tracker/tracker.html", context)
Speaking of the template, the tracker page is even more simple than the index page. Besides the helper functions like username, settings, etc., we simply loop through each card in the context, display it on the page, and add an overlay for checking and unchecking a card from the user’s collection.
{% if cards %}
  <div class="container">
    {% for card in cards %}
      <div id="{{ card.Id }}" class="{% if card.Id in collected %} card collected {% else %} card {% endif %}">
        <a href="{{ card.LoGetURL }}" target="_blank">
          <img src="{{ card.Img }}" alt="{{ card.Name }}"/>
        </a>
        <div class="overlay">
          <button class="greenCheck" data-id="{{ card.Id }}">✔</button>
          <button class="redX" data-id="{{ card.Id }}">✖</button>
        </div>
      </div>
    {% endfor %}
  </div>
{% endif %}
The javascript simple handles the click events for the buttons and the communication with the backend. As such, I won’t be showing it here. The CSS is much more fun as a few things needed to happen. I needed all non-collected cards to be greyed out, but still have them highlighted when hovered over. Because there is padding between each card, the overlay must follow the shape of the card. The buttons mus talso show changed when hovered over, independently of the card itself. Finally, we need to add some more styling to make everything easy on the eyes.
.container {
  display: grid;
  grid-template-columns: repeat(auto-fill, minmax(200px, 1fr));
  gap: 16px;
  padding: 16px;
}

.card {
  position: relative;
  opacity: 25%;
  overflow: hidden
}

.card:hover {
  opacity: 100%;
}

.collected {
  opacity: 100%;
}

.container img {
  width: 100%;
  height: auto;
  display: block;
  border-radius: 8px;
  box-shadow: 0 4px 8px rgba(0, 0, 0, 0.15);
}

.bar {
  display: flex;
  justify-content: center;
  padding: 15px;
  top: 0;
  width: 100%;
  box-shadow: 0 4px 8px rgba(0, 0, 0, 0.1);
}

.btn {
  background-color: #202c70;
  color: white;
  border: none;
  padding: 10px 20px;
  margin-left: 10px;
  font-size: 1rem;
  border-radius: 5px;
  cursor: pointer;
  transition: background-color 0.3s ease;
}

.btn:hover {
  background-color: #45a049;
}

.btn:focus {
  outline: none;
}

.overlay {
  position: absolute;
  top: 0;
  left: 0;
  width: 100%;
  height: 100%;
  display: flex;
  justify-content: center;
  align-items: center;
  background-color: rgba(0, 0, 0, 0.5);
  opacity: 0;
  transition: opacity 0.3s ease;
}

.overlay button {
  background-color: white;
  border: none;
  padding: 10px;
  margin: 5px;
  cursor: pointer;
  font-size: 20px;
}

.overlay button.greenCheck {
  color: green;
}

.overlay button.redX {
  color: red;
}

.card:hover .overlay {
  opacity: 1;
}
Conclusion
That’s about it. A simple, over-explained project as my tribute to the amazing time I’ve had in Japan. I hope you take this as in inspiration that if something’s missing in your life, you can always build it yourself. Take this as a caution too. I could’ve easily found a simpler way to manage my tracking, this is a pretty frontend to a database afterall, and saved mysef the hours I’ve worked on it. Never forget the cost of convenience. Nevertheless, I’ve had fun. It’s always a pleasure to build something for a small group over a mass audience, even if that small group is just me.
P.S. Can you still try the demo online? Nope. I recieved a nicely worded email kindly requesting me to remove the demo, which I have done. You are still free to tinker with and try out a locally hosted version of the site.